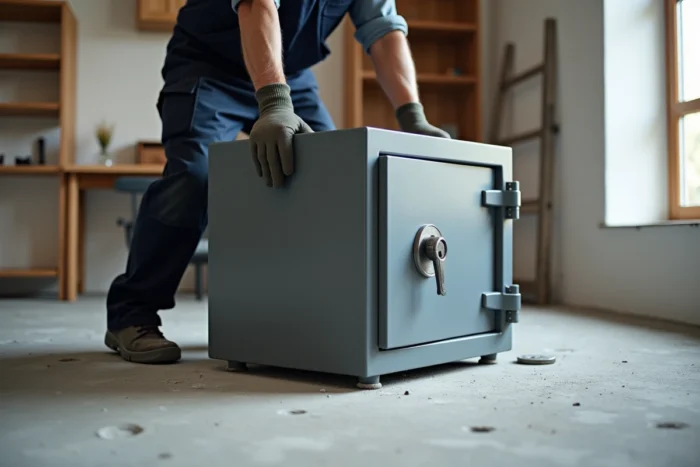
A safe weighing several dozen kilos placed on the ground without any fixation is an object that two motivated people can load into a van in less than five minutes. No matter how much we choose a reinforced model with a code lock, if the anchoring to the ground is not done correctly, the protection remains partial. Securing it to the ground transforms the safe into a fixed obstacle, bonded to the structure of the building, and significantly complicates any attempt to remove it.
The difficulty is not so much in drilling and screwing as it is in mastering every technical detail that determines the durability of the whole setup. Inappropriate support, dust in the holes, rough tightening: common mistakes can be costly, sometimes without us realizing it until a disaster occurs.
Type of ground support: the variable that manuals ignore
Most safe manuals simply state “secure to the ground with the provided anchors.” The problem is that these anchors are calibrated for solid concrete. However, we do not always work on solid concrete.
Anchoring in a load-bearing concrete slab offers the best stability. Hollow concrete, brick, wooden floors, or a simple thin screed on insulation do not react the same way to pulling forces. On a wooden floor, the fixation only holds if the screws go through the panel to reach a joist or a load-bearing structural element.
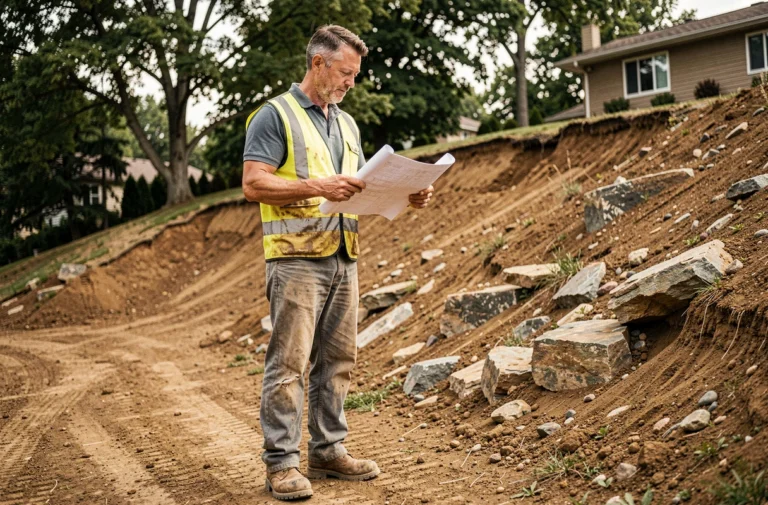
Before taking out the drill, we need to identify the exact nature of the ground. If it’s a slab over a crawl space, we check the thickness of available concrete. On a technical floor or a composite ground, it may sometimes be necessary to remove the covering to reach the load-bearing structure. This diagnostic step takes a few minutes but conditions everything else.
For hollow concrete floors or thin slabs, chemical anchoring (two-component resin injected into the hole) is a superior alternative to mechanical expansion anchors. The resin conforms to the cavities of the support and offers significantly higher resistance to pulling forces in this type of configuration. Today, there are many resources to install a safe to be anchored to the ground depending on the type of support encountered.
Dust removal and tightening torque: two underestimated technical steps
We often talk about the choice of anchor or drilling diameter. However, two less visible parameters play a crucial role in the final strength of the anchoring.
Clean the hole before anchoring
After drilling, the hole is filled with concrete dust. This dust forms a crumbly layer between the anchor (or resin) and the wall of the hole. For chemical anchoring, a non-cleaned hole significantly reduces the anchoring strength.
We blow out the hole using a bulb or a blower, then use a brush (the small metal brush provided with some chemical anchoring kits). At least two passes are required. If dust continues to fall, we start over. This is not perfectionism: it is a documented safety prerequisite by heavy-duty fastening manufacturers.
Tighten gradually, without an impact driver
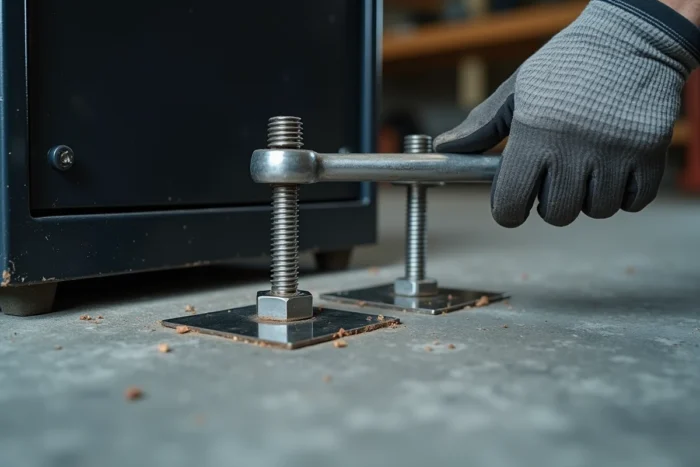
The other classic trap: tightening the anchoring bolts with an impact driver to save time. The torque applied easily exceeds the material’s resistance and creates micro-cracks in the concrete around the anchor. The fixation may seem solid, but it has lost some of its hold.
The reliable method is to use a torque wrench to control the tightening torque. We tighten in a star pattern (alternating opposite bolts) to distribute the pressure evenly across the safe’s plate. This takes longer than a quick impact driver, but the difference in strength is real.
Ground-anchored safe: location and insurance constraints
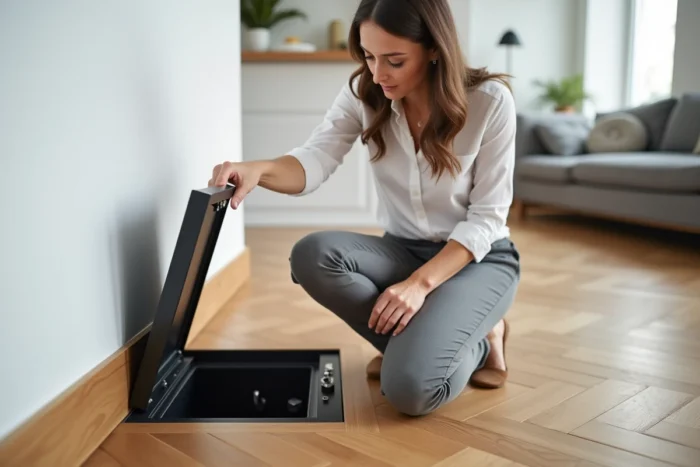
The choice of location combines two logics that do not always converge: discretion and ease of access. A safe hidden under a heavy piece of furniture in a little-frequented room complicates the work of a hurried burglar. On the other hand, if it is used regularly, moving a piece of furniture every time it is opened quickly becomes tedious.
Discretion alone is not enough if the anchoring is weak. A concealed but poorly fixed safe remains vulnerable. Conversely, a properly anchored safe in solid concrete can withstand even if it is spotted. The two approaches complement each other, but between the two, the quality of the fixation takes precedence.
- Avoid damp rooms (unventilated garage, basement prone to rising damp) that accelerate the corrosion of the fixings and the safe itself.
- Check that no pipes or electrical conduits run under the drilling area, using a metal and cable detector.
- Ensure there is enough clearance to open the safe door more than 90 degrees, which facilitates access to the contents and storage.
- Some insurance companies require a safe anchored to the ground or wall to cover goods beyond a certain amount. Checking the contract conditions before installation allows for adapting the type of anchoring to the insurer’s requirements.
Operational summary: checkpoints before commissioning
Once the safe is in place and the bolts are tightened, we check a few points before considering the installation complete.
- Test the resistance by applying a firm lateral pull on the safe. No play should be perceptible.
- Open and close the door several times to ensure that the anchoring has not slightly shifted the safe, which could interfere with the locking mechanism.
- Check the tightness of the bolts after a few days of use. A slight retightening may sometimes be necessary, especially with mechanical anchors in new concrete that continues to dry.
Feedback varies on the necessity of involving a professional. For a solid concrete floor with a standard-sized safe, a methodical DIYer can manage very well. On an atypical support (old wooden floor, screed on insulation, heated floor), calling in a specialized locksmith avoids unpleasant surprises and ensures an anchoring suitable for the actual support.
The installation of a ground-anchored safe relies less on brute force than on the rigor of each step. A clean hole, an anchor suitable for the support, controlled tightening: these three parameters alone determine the solidity of the whole for years to come.